【Unity】LINEっぽいチャットでScroll View チュートリアル④ChatNode
Unity 2019.2.0f1 Personal(2019年8月)

LINEっぽいチャットでScroll Viewチュートリアル、
ラストはChatNodeスクリプトを作成していきます〜
ChatNodeスクリプト作成
まずはChatNode.csを作成し、
以前Prefab化したChatNodeオブジェクトにつけていきます〜
using System.Collections;
using System.Collections.Generic;
using UnityEngine;
using UnityEngine.UI;


public class ChatNode : MonoBehaviour
{
    private ChatData chatData;

    [SerializeField] LayoutGroup layoutGroup;
    [SerializeField] Image chatBoard;
    [SerializeField] Text chatText;
    [SerializeField] Image chatIcon;
    [SerializeField] Sprite mineSprite;
    [SerializeField] Sprite othersSprite;


    public void Init(ChatData data)
    {
        chatData = data;
        chatText.text = chatData.body;

        if (chatData.roll == ChatRoll.MINE)
        {
            chatIcon.sprite = mineSprite;
            layoutGroup.childAlignment = TextAnchor.MiddleRight;
            chatBoard.color = new Color(0f, 1f, 0.1f);
            chatIcon.transform.SetSiblingIndex(1);
        }
        else if (chatData.roll == ChatRoll.OTHERS)
        {
            chatIcon.sprite = othersSprite;
            layoutGroup.childAlignment = TextAnchor.MiddleLeft;
            chatBoard.color = new Color(1f, 1f, 1f);
            chatIcon.transform.SetSiblingIndex(0);
        }
    }
ChatNode.cs
メソッドはInitのみです。
ChatDataを受け取り、rollによってChatNodeの内容を変更します。
sprite変更、childAlignmentで左右のポジション決め、カラー変更。
SetSiblingIndexはHierarchy上でのオブジェクトの並び順をスクリプトから変更します。
ChatSystemスクリプト修正
前回作成したChatSystemスクリプトを修正していきます〜
using System.Collections;
using System.Collections.Generic;
using UnityEngine;
using UnityEngine.UI;

public class ChatSystem : MonoBehaviour
{
    private int id = 0;
    [SerializeField] InputField chatInputField;
    [SerializeField] GameObject chatNodePrefab;
    [SerializeField] GameObject content;


    void Start()
    {
    }

    public void OnClickMineButton()
    {
        CreateChatNode(ChatRoll.MINE);
    }

    public void OnClickOthersButton()
    {
        CreateChatNode(ChatRoll.OTHERS);
    }

    private void CreateChatNode(ChatRoll roll)
    {
        id++;
        string str = chatInputField.text;
        chatInputField.text = "";
        ChatData data = new ChatData(id, roll, str);
// ***** 開始 *****
        var chatNode = Instantiate<GameObject>(chatNodePrefab, content.transform, false);
        chatNode.GetComponent<ChatNode>().Init(data);
// ***** 終了 *****
    }
}


public enum ChatRoll
{
    MINE,
    OTHERS,
}

public class ChatData
{
    public int id;
    public ChatRoll roll;
    public string body;

    public ChatData(int id, ChatRoll roll, string body)
    {
        this.id = id;
        this.roll = roll;
        this.body = body;
    }
}
ChatSystem.cs
InstantiateでChatNodePrefabを作成します。
Instantiate第2引数は親オブジェクトであるContentを指定。
Instantiate第3引数()をfalseにすると親オブジェクトの位置に生成されます。
その後、ChatNodeのInitメソッドを呼び出します。
実際に再生して試してみましょう。

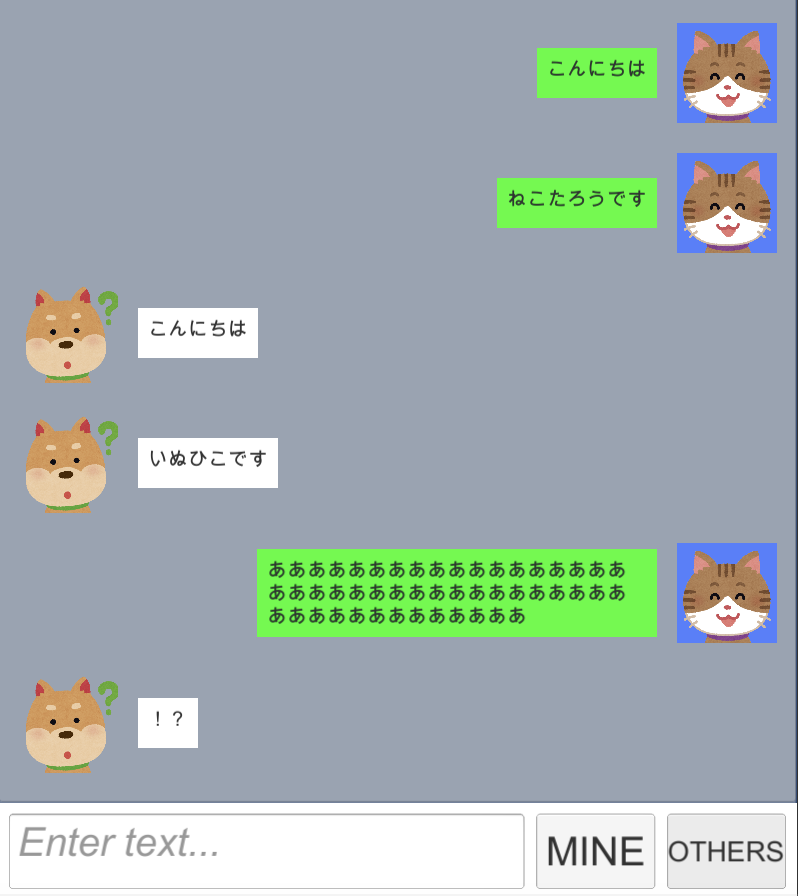
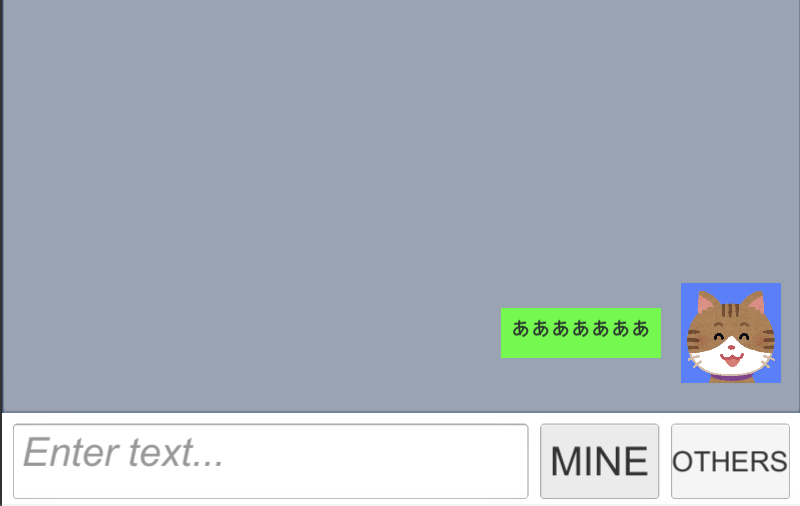
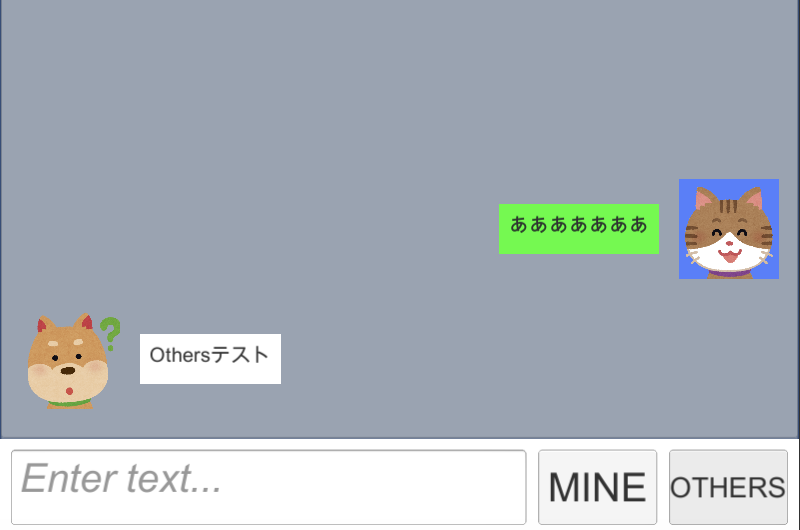
文字入力しMINEボタンを押すと猫が喋る。

OTHERSボタンを押すと犬が喋る。
ChatBoardのMAX Widthを制限する
最後にChatBoardのMAX Widthを制限する方法を書いておきます。
画面幅の50%を超えたら50%に制限します。
using System.Collections;
using System.Collections.Generic;
using UnityEngine;
using UnityEngine.UI;


public class ChatNode : MonoBehaviour
{
    private ChatData chatData;

    [SerializeField] LayoutGroup layoutGroup;
    [SerializeField] Image chatBoard;
    [SerializeField] Text chatText;
    [SerializeField] Image chatIcon;
    [SerializeField] Sprite mineSprite;
    [SerializeField] Sprite othersSprite;


    public void Init(ChatData data)
    {
        chatData = data;
        chatText.text = chatData.body;

        if (chatData.roll == ChatRoll.MINE)
        {
            chatIcon.sprite = mineSprite;
            layoutGroup.childAlignment = TextAnchor.MiddleRight;
            chatBoard.color = new Color(0f, 1f, 0.1f);
            chatIcon.transform.SetSiblingIndex(1);
        }
        else if (chatData.roll == ChatRoll.OTHERS)
        {
            chatIcon.sprite = othersSprite;
            layoutGroup.childAlignment = TextAnchor.MiddleLeft;
            chatBoard.color = new Color(1f, 1f, 1f);
            chatIcon.transform.SetSiblingIndex(0);
        }
// ***** 開始 *****
        StartCoroutine(CheckTextSize());
// ***** 終了 *****
    }

// ***** 開始 *****
    private IEnumerator CheckTextSize()
    {
        yield return new WaitForEndOfFrame();
        if (chatBoard.rectTransform.sizeDelta.x > this.GetComponent<RectTransform>().sizeDelta.x * 0.5f)
        {
            chatBoard.GetComponent<LayoutElement>().preferredWidth = this.GetComponent<RectTransform>().sizeDelta.x * 0.5f;
        }
    }
// ***** 終了 *****
}
ChatSystem.cs
UnityのAuto Layoutシステムによる UIパーツのサイズ変更は
フレームの最後に実行されます。
なのでWaitForEndOfFrameの後でChatBoardのpreferredWidthを変更します。
以上でLINEっぽいチャットのチュートリアル終了です。
ありがとうございました〜